Home composting turns kitchen scraps and yard waste into nutrient-rich soil. This guide explains simple, practical steps to start composting at home and keep a healthy pile or bin.
Why Choose Home Composting
Home composting reduces waste sent to landfill and produces compost you can use in pots, garden beds, or lawn care. It also helps retain moisture, improves soil structure, and supports beneficial microbes.
Composting is suitable for apartments and houses, small gardens and larger yards. With the right method, nearly anyone can compost successfully with minimal effort.
Basic Principles of Home Composting
Composting works by balancing carbon-rich “browns” and nitrogen-rich “greens” while providing air and moisture for microbes.
- Greens: kitchen scraps, coffee grounds, fresh grass clippings.
- Browns: dry leaves, shredded cardboard, straw.
- Air: turn or aerate to prevent odors and enable decomposition.
- Moisture: compost should be damp but not soggy.
Choosing a Composting Method
Select a method based on space, time, and effort you can commit. Common options include bins, tumblers, and simple piles.
- Compost bin: Good for small yards. Keeps material contained and neat.
- Tumbler: Faster aeration and easier turning; ideal for beginners who want speed.
- Open pile: Low cost, works well on larger properties but requires more turning and space.
- Vermicomposting (worms): Great for apartments and countertop systems; produces high-quality compost but needs stable conditions.
Step-by-Step Guide to Start Home Composting
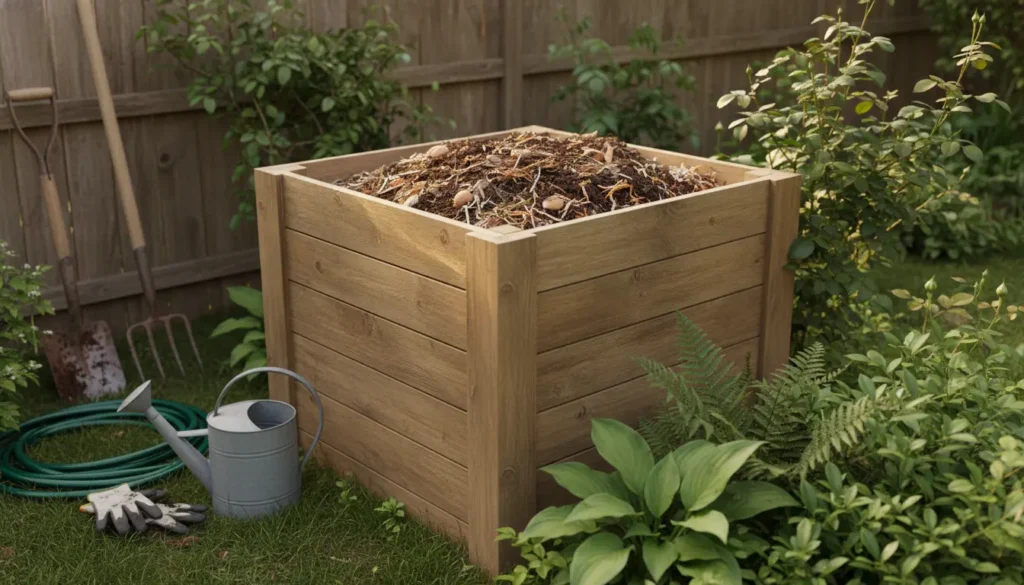
Follow these steps to begin a basic backyard compost bin. The same principles apply to other systems.
1. Pick a Location
Choose a level, well-drained spot with some shade. Close proximity to your kitchen makes it easier to add scraps regularly.
2. Assemble Materials
Gather a mix of greens and browns. Aim for roughly a 2:1 or 3:1 ratio of browns to greens by volume if possible.
Examples:
- Greens: vegetable peels, fruit scraps, coffee grounds.
- Browns: leaves, paper towels (unbleached), shredded cardboard.
3. Build the Pile or Fill the Bin
Start with a layer of coarse browns like twigs to create airflow. Add alternating layers of greens and browns, keeping pieces small to speed decomposition.
If using a tumbler, fill according to manufacturer guidelines and balance greens and browns inside.
4. Maintain Temperature, Moisture, and Air
Check the pile weekly. It should feel like a damp sponge and warm in the center if decomposition is active. Turn the pile every 1–2 weeks to introduce oxygen.
Troubleshoot quickly: bad smells mean too wet or too many greens; slow decomposition means pile is too dry or lacks nitrogen.
Troubleshooting and Tips for Success
- Odor control: Add more browns and turn the pile. Avoid adding meat or dairy to typical home systems.
- Pests: Use a closed bin or bury food scraps in the center; avoid leaving food exposed.
- Slow breakdown: Chop materials finer and increase moisture slightly; add garden soil to introduce microbes.
- Excess moisture: Turn pile and add dry browns; ensure good drainage at the base.
When Is Compost Ready?
Finished compost is dark, crumbly, and smells earthy. Depending on method and conditions, this can take 2 months to a year.
Use finished compost as a soil amendment, potting mix ingredient, or mulch top dressing around plants.
Adding crushed eggshells supplies calcium to your compost and helps balance acidity in soils when applied as finished compost.
Real-World Example: Small Apartment Composting Case Study
Maria lives in a two-bedroom apartment and wanted to reduce kitchen waste. She started a 10-liter worm bin under her sink and used a small container for scraps that she emptied every 2–3 days.
After 6 months, Maria harvested vermicompost and mixed it into potting soil for her balcony herbs. She reduced her trash by about 30% and noticed healthier basil and mint plants.
Key takeaways from her approach:
- Consistent addition of balanced scraps and small amounts of shredded paper.
- Regular feeding schedule and avoiding citrus overload kept the worms healthy.
- Using finished vermicompost in containers improved water retention and plant vigor.
Common Tools and Supplies
- Pitchfork or compost aerator for turning
- Thermometer to monitor internal temperature (optional)
- Shredder or scissors to chop materials
- Closed bin or tumbler suited to your space
Final Checklist Before You Start Home Composting
- Choose a composting method that fits your space and time.
- Gather a steady supply of greens and browns.
- Monitor moisture and aerate regularly.
- Be patient—composting speed varies with conditions.
Home composting is a practical way to reduce waste and create useful soil. Start small, observe how your system behaves, and adjust materials and turning frequency as needed. Within months you can turn scraps into a valuable resource for plants and soil health.