Home composting turns kitchen and yard waste into nutrient-rich soil that improves garden health and reduces trash. This guide gives clear steps to start, maintain, and troubleshoot home composting with simple equipment and routine tasks.
Why Home Composting Matters
Home composting reduces landfill waste and lowers methane emissions from organic material. It also produces free fertilizer that improves soil structure and plant growth.
For beginners, composting is a low-cost way to practice sustainability and cut household waste by up to 30 percent. Small changes add up quickly.
Basic Principles of Home Composting
Compost is created by breaking down organic matter with microbes, moisture, air, and balanced ingredients. Keep these four elements in mind when you start.
- Greens: Nitrogen-rich materials like vegetable scraps, coffee grounds, and fresh grass clippings.
- Browns: Carbon-rich materials such as dry leaves, cardboard, and paper.
- Air: Oxygen feeds decomposers; turning the pile helps.
- Moisture: Compost should be as damp as a wrung-out sponge.
How to Start Home Composting: Step-by-Step
Select a method that fits your space and routine. Options include a simple heap, a bin, or a tumbler. Each works if you balance greens and browns, keep the pile moist, and aerate regularly.
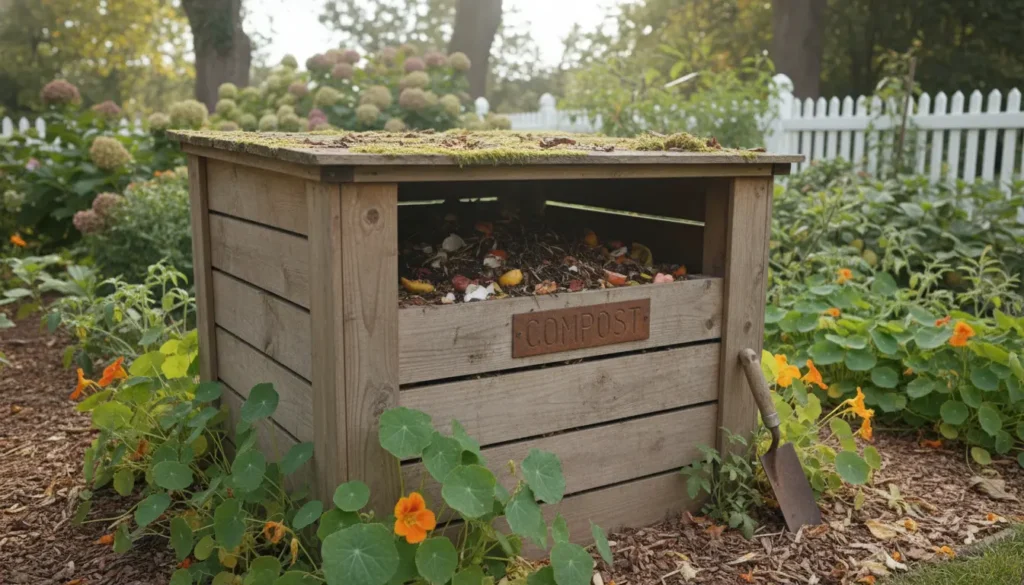
1. Choose a Location and Container
Pick a shady, well-drained spot near water access. Containers can be homemade (wood pallets or wire) or bought as plastic or metal bins.
Tumblers speed up decomposition and are cleaner for small yards. Open bins are cheaper and suit larger gardens.
2. Build the Pile
Start with coarse browns like straw or small branches to help airflow at the base. Alternate layers of greens and browns about 2–4 inches thick.
A general guideline is a carbon-to-nitrogen (C:N) ratio near 25–30:1. Practically, aim for two to three parts browns to one part greens by volume.
3. Maintain the Compost
Turn the pile every 1–2 weeks to introduce oxygen. If using a tumbler, rotate it several times per week.
Monitor moisture and add water during dry periods. If the pile is soggy and smells, add more browns and turn to dry it out.
What to Compost and What to Avoid
Knowing what belongs in your compost keeps it productive and pest-free. Follow this straightforward list to avoid common mistakes.
Common Acceptable Materials
- Vegetable and fruit scraps
- Coffee grounds and tea bags (remove staples)
- Eggshells (crushed)
- Yard trimmings, leaves, and grass clippings
- Shredded paper and cardboard
Materials to Avoid
- Meat, dairy, and oily foods (can attract pests and smell)
- Diseased plants or invasive weeds with seeds
- Pet waste from carnivores (risk of pathogens)
- Coal ash or treated wood
Troubleshooting Home Composting Problems
Most compost issues have simple fixes. Check the pile’s smell, moisture, and temperature to diagnose problems quickly.
- Bad odor: Add browns, turn the pile, and reduce wet kitchen scraps.
- Too dry: Water the pile and turn to distribute moisture.
- Slow decomposition: Chop materials smaller, increase greens for microbes, or add a handfull of finished compost to inoculate.
- Pests: Bury food scraps beneath browns or switch to a secure tumbler.
Timing and How to Know When Compost Is Ready
Compost can take 2 months to a year depending on method, materials, and maintenance. Hot composting with frequent turning produces finished compost faster.
Ready compost is dark, crumbly, and earthy smelling. It should no longer show recognizable food pieces.
Adding more surface area speeds decomposition. Shredding leaves and cutting kitchen scraps into small pieces can cut composting time significantly.
Small Case Study: A Backyard Compost Success
Maria, a homeowner in Portland, started home composting in a 30-gallon tumbler. She collected kitchen scraps and yard trimmings and maintained a two-to-one ratio of browns to greens.
Within four months she had dark, usable compost. She replaced commercial fertilizer on her vegetable bed and reported healthier tomato plants and improved soil moisture retention.
Practical Tips for Ongoing Home Composting
- Keep a small countertop bin with a tight lid to collect scraps and empty it into the compost daily.
- Store a supply of dry browns (shredded paper, leaves) to balance greens when needed.
- Use finished compost as a top dressing, soil amendment, or in potting mixes.
- Record simple observations: pile temperature, smell, and texture to improve results over time.
Final Thoughts on Home Composting
Home composting is a practical, low-cost way to reduce waste and boost garden health. It requires simple habits rather than perfect technique.
Start small, learn by doing, and scale up as you gain confidence. With basic balance and regular turning, most beginners produce excellent compost within months.