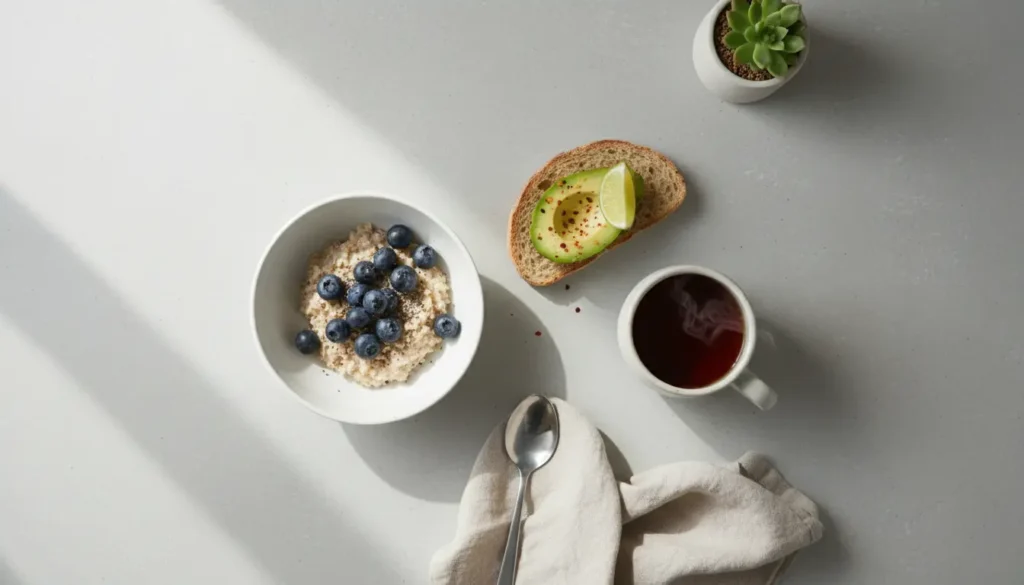
Home composting turns kitchen scraps and yard waste into rich soil amendment that improves garden health. This practical guide explains systems, inputs, and common problems so you can start composting at home with confidence.
Why Choose Home Composting
Home composting reduces household waste and keeps nutrients in your yard instead of the landfill. It lowers methane emissions from organic waste and saves money on fertilizer and soil amendments.
Choose a Compost System for Home Composting
Selecting the right system depends on space, time, and the amount of organic waste you produce. Below are common options with quick pros and cons.
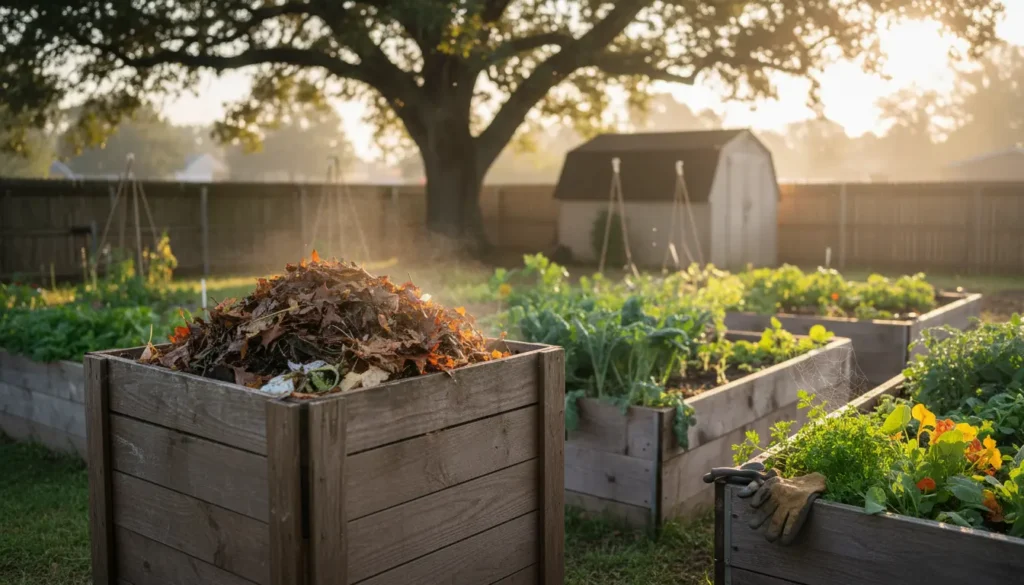
Compost Bin for Home Composting
A simple static bin is affordable and easy to use. It works well if you have yard space and can tolerate slower decomposition.
Tumbler for Home Composting
Rotating tumblers speed up decomposition and reduce pests because the mix is contained. They are ideal for small yards and moderate waste volumes.
Worm Composting for Home Composting (Vermicompost)
Vermicompost uses worms to rapidly break down food scraps indoors or outdoors. It is efficient for apartment dwellers and produces nutrient-rich worm castings.
What to Compost at Home
Balancing ‘greens’ (nitrogen) and ‘browns’ (carbon) is essential for healthy home composting. Aim for varied, layered inputs.
- Greens: fruit and vegetable scraps, coffee grounds, fresh grass clippings.
- Browns: dry leaves, straw, shredded paper, cardboard, small wood chips.
- Do not compost: meat, dairy, oily foods, diseased plants, pet waste, and invasive weeds.
How to Start Home Composting: Step-by-Step
Follow these steps to begin a home composting pile or system that works for your household.
- Choose location and system. Pick a level, partially shaded spot for outdoor bins or a stable indoor location for worm bins.
- Layer browns and greens. Start with a 4–6 inch base of browns, then add greens in smaller layers to maintain balance.
- Maintain moisture and airflow. Compost should be as damp as a wrung-out sponge. Turn or aerate every 1–2 weeks for faster results.
- Monitor temperature. Hot composting reaches 130–150°F and kills pathogens and seeds. If using a cold pile, expect slower breakdown but less maintenance.
- Harvest finished compost. After several months (hot) to a year (cold), dark crumbly compost is ready to use in pots, beds, or as mulch.
Troubleshooting Common Home Composting Problems
Issues are usually easy to fix once you identify the cause. Use simple adjustments to rebalance your compost.
Bad Odor
A strong, foul smell usually means too much nitrogen or poor airflow. Add more browns and turn the pile to restore oxygen.
Pests and Rodents
Attracting pests often comes from composting meat, dairy, or oily foods. Remove these items and use a closed bin or tumbler. Bury new food scraps in the center of the pile.
Slow Decomposition
Slow breakdown can come from insufficient moisture, low temperatures, or too much bulky carbon. Add water, greens, and chop larger pieces to speed decomposition.
Proper home composting can reduce household waste sent to landfills by up to 30 percent, depending on diet and yard size.
Case Study: A Small Urban Home Composting Success
Laura, a renter in a city apartment, started vermicomposting in a two-bin system on her balcony. She collected fruit and vegetable scraps in a sealed kitchen bucket and fed them to red wiggler worms weekly.
Within four months she harvested rich worm castings she mixed into potting soil for tomato and herb containers. Her household reduced trash volume noticeably and her plants produced larger yields with less store-bought fertilizer.
Home Composting Timeline and Practical Tips
Timelines vary by method: hot piles can produce usable compost in 2–4 months, while cold piles often take 6–12 months. Vermicompost systems produce usable castings in 2–4 months depending on feedstock and temperature.
- Chop or shred materials to speed breakdown.
- Keep consistent input types rather than sudden large additions.
- Use a kitchen caddy with a tight lid to cut odors and flies.
- Test pH only if plants show nutrient issues; most composts are near neutral.
Starting home composting is a low-cost, high-impact step toward sustainable living. Choose a system that fits your space, learn to balance greens and browns, and apply simple maintenance to avoid common problems. Small, consistent effort yields rich compost that benefits gardens and reduces waste.