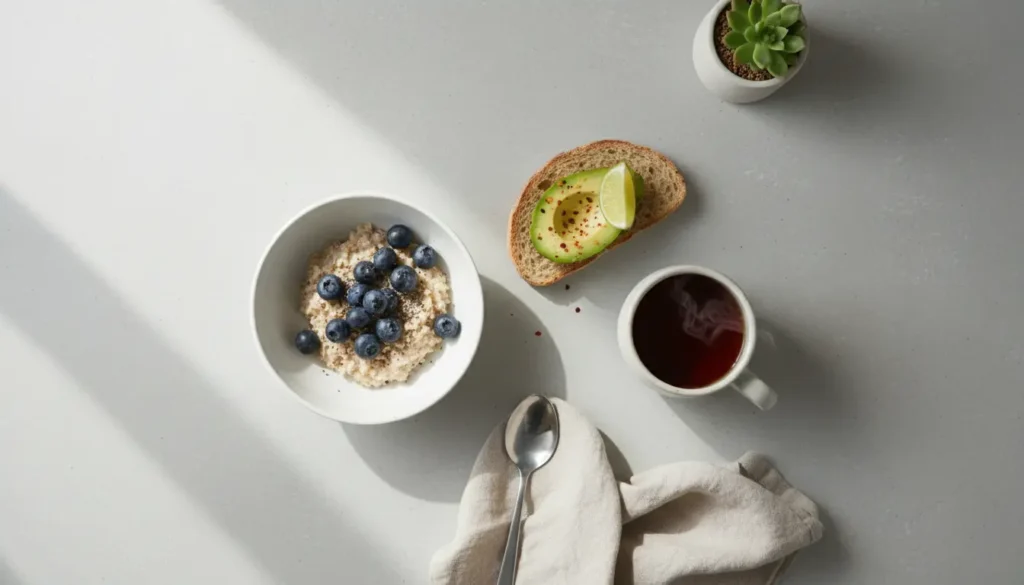
What is home composting and why start
Home composting is the controlled breakdown of organic waste into nutrient-rich material you can use in gardens and pots. It reduces landfill waste, cuts methane emissions, and returns nutrients to soil.
Starting a compost system at home saves money on soil amendments and keeps kitchen scraps out of the trash. This guide gives practical steps to build, maintain, and troubleshoot a successful home composting setup.
Choosing the right system for home composting
Select a composting method that fits your space and lifestyle. Common options include outdoor bins, tumblers, worm bins (vermicomposting), and bokashi for small or indoor spaces.
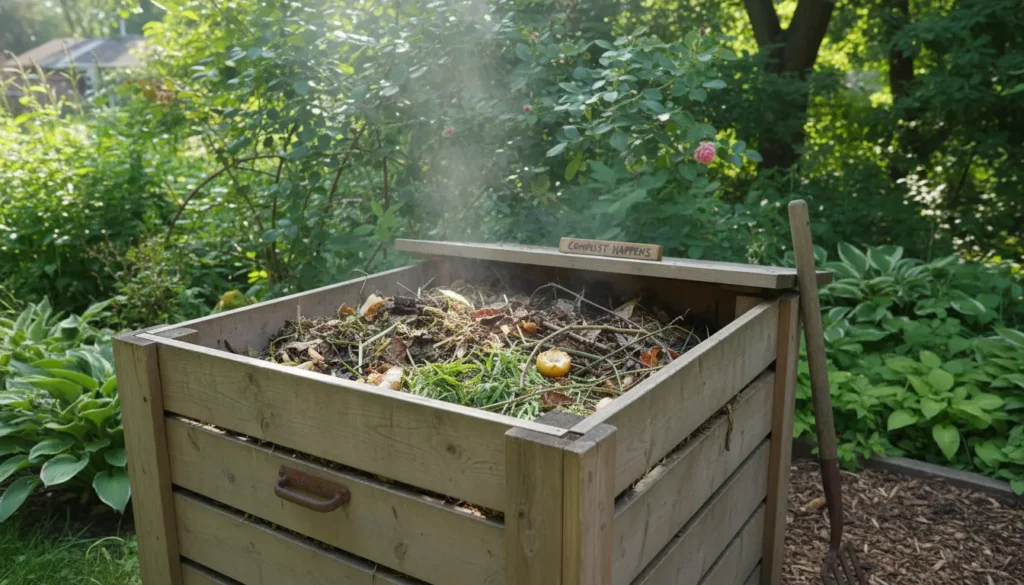
- Outdoor compost bin: Good for yards, low maintenance, handles large volumes.
- Tumbler: Faster turning, cleaner, useful for small yards.
- Vermicomposting (worm bin): Great for apartments and producing rich castings quickly.
- Bokashi: Fermentation method for all kitchen scraps, including meat and dairy, useful in limited spaces.
Site and container tips for home composting
Place outdoor bins on soil or grass to allow drainage and access for organisms. Keep the bin partly shaded to prevent drying out in hot weather.
For indoor worm or bokashi bins, choose a ventilated spot away from direct heat. Use a tray or mat to protect floors and minimize odor spread.
Materials to use and avoid in home composting
Balance carbon-rich “browns” and nitrogen-rich “greens” to keep decomposition active and odor-free. Aim for roughly a 30:1 C:N ratio, but simple rules work well for beginners.
- Greens (nitrogen): vegetable scraps, fruit peels, coffee grounds, fresh grass clippings.
- Browns (carbon): dry leaves, shredded paper, cardboard, straw, sawdust.
- Avoid: meat, dairy, oily foods, diseased plants, and pet waste in standard compost unless using specialized systems.
How to layer and start a pile for home composting
Start with a layer of coarse browns for airflow, then add alternating layers of greens and smaller brown materials. Keep layers thin for faster decomposition.
Moisten each layer so the pile feels like a wrung-out sponge. Cover new kitchen scraps with a brown layer to limit flies and smells.
Maintaining your home composting system
Maintenance is minimal but regular checks speed up composting. Turn or aerate the pile every 1–3 weeks if you want faster results.
- Moisture: Keep damp but not soggy. Add water during dry spells or more browns if too wet.
- Air: Oxygen helps microbes. Turn piles or use a ventilated tumbler.
- Size: A 3x3x3 foot pile is ideal for heat; smaller piles benefit from more attention.
Troubleshooting common issues in home composting
Bad smells usually mean too much green or not enough air. Add browns and turn the pile.
Fruit flies can be reduced by burying scraps, using closed containers, or adding a layer of finished compost on top.
When is compost ready for use
Finished compost is dark, crumbly, and earthy-smelling. It should no longer resemble the original materials and will break apart easily.
Turned regularly, compost can be ready in 2–4 months. Slower, passive piles may take 6–12 months. Use finished compost to improve soil structure, retain moisture, and add nutrients.
Ways to use finished home compost
- Top-dress lawns and garden beds with a thin layer.
- Mix into potting soil or planting holes for vegetables and flowers.
- Make compost tea: steep compost in water for a gentle liquid feed.
Composting one household’s organic waste can divert up to 500 pounds of waste from landfill each year, depending on household size and diet.
Home composting case study: Small apartment vermicompost
Maria, a two-person household in a city apartment, started a worm bin under her kitchen counter. She used a plastic bin with bedding of shredded cardboard and leaves, and added red worms.
Within three months she had steady weekly harvests of worm castings and reduced kitchen waste by about 60%. The castings were mixed into houseplant soil and used for herbs, which grew fuller and required less fertilizer.
Quick start checklist for home composting
- Choose a method: outdoor bin, tumbler, worm bin, or bokashi.
- Gather materials: greens, browns, and a container or bin.
- Build layers and keep the pile moist and aerated.
- Monitor for odors, pests, and moisture; adjust as needed.
- Harvest finished compost and apply to soil or pots.
Final tips for successful home composting
Start small and learn what works in your climate and space. Keep a small counter bucket with a tight lid to store scraps until you can add them to the bin.
Be patient: composting is biological and seasonal. With simple attention to moisture and balance, most systems thrive with minimal effort.
If you want help choosing the best system for your home, list your space and daily kitchen waste, and you can compare options based on volume, maintenance, and speed.